I have been using a Home Assistant Green for just over a year. As a newcomer to Home Assistant, I was keen to start with a system that ensured simplicity in setup and day-to-day use.
Table of contents
The Home Assistant Green is often described as a great starter pack for Home Assistant smart home control. After a year, I still find it to be a rock-solid smart home solution that excels in data retention and processing speed. The only change I’ve made is adding an SSD drive (a very simple process) to store my data disk.
The HA Green is a compact and completely silent device, as it has no moving parts.

The Home Assistant Green has the following ports:
- Power Input: 12V DC.
- 1 Ethernet Port: Gigabit Ethernet (RJ45)
- 2 USB 2.0 Ports: For connecting Zigbee/Z-Wave/Matter adapters or external storage.
- A Reset Button: For troubleshooting and factory reset. I haven’t had to use this button even once to date.
The HA Green does not come with built-in Zigbee, Z-Wave, or Thread but these can be added via one of the USB adaptors. I use the SkyConnect USB adaptor. The LEDs on the front of the device can also be controlled easily so that won’t end up flashing 24-7.
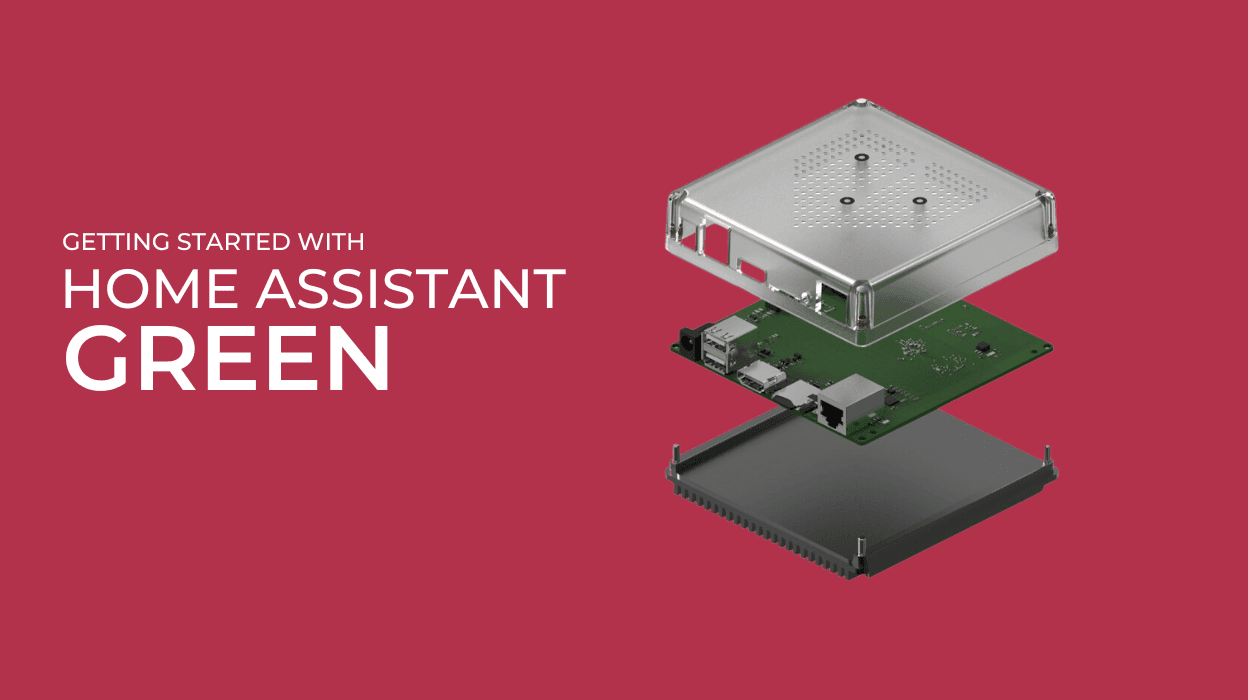
Getting Started with Home Assistant Green
Setting up Home Assistant is exceptionally easy. The device comes with everything you need in the box. Note: Click any image for a larger view.
Step 1: Connect Home Assistant Green to your Network
- Plug in the power adapter (12V DC).
- Connect an Ethernet cable (my HA Green came supplied with an ethernet cable) from your router to the Home Assistant Green’s Ethernet port.
- If using Zigbee, Z-Wave, or Matter, plug in the USB dongles (optional).
Step 2: Log in to Home Assistant via the Web Interface
Open a web browser and go to: http://homeassistant.local:8123
If this URL doesn’t work, then you can check your DHCP allocation and find the IP address of the Green. Open the IP address in your browser (e.g., http://192.168.x.x:8123). I would recommend setting your Home Assistant to a dedicated IP address.
Step 3: Create a Home Assistant Account
- Create a username & password.
- Set your location & time zone (for automations like sunrise/sunset).
- Enable analytics (optional) to improve Home Assistant.
Step 4: Add Smart Home Devices
Go to “Settings” → “Devices & Services”.
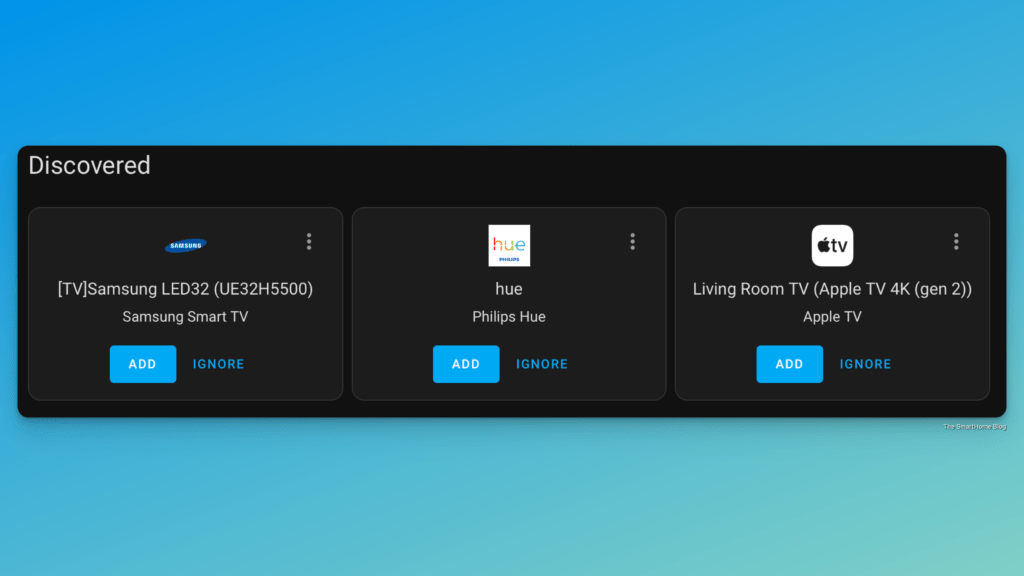
HA will auto-detect compatible devices on your network. It’s amazing how many devices HA can find. I was able to install multiple Apple TVs, smart plugs, TVs, and Philips Hue lights through auto-discovery.
Click “Configure” to add them.
Some devices are not auto-discovered and require their own integration. For the most part, this is very easy, I had my Ecowitt Weather Station Hub installed in minutes. Once installed, all the sensors connected to the Ecowitt hub appear in Home Assistant, with the data being logged in the Home Assistant database.
Step 5: Create Your First Automation
Go to “Settings” → “Automations & Scenes”
- Click “Create Automation”
- Choose a trigger (e.g., motion sensor detects movement).
- Set an action (e.g., turn on lights).
- Click Save and test it.
I actually have HA alerting me if the weather station senses rain. It’s not perfect but it saves looking out the window. This dashboard allows me to monitor my smart greenhouse setup.

Step 6: Build your Dashboards
I have kept my setup very simple, with three main dashboards (in addition to the Energy Dashboard): one for sensors, one for specific power devices, and one for weather.
The example uses the Lovelace Mini Graph Card, which is available in HACS (Home Assistant Community Store). HACS is a third-party community store and is not included in Home Assistant by default. You can find more information at https://hacs.xyz. The direct link to the Mini Graph Card is: https://github.com/kalkih/mini-graph-card.

A major advantage of Home Assistant is its ability to monitor energy usage throughout the house. (See Can Smart Plugs Save Energy?) Home Assistant includes a default energy dashboard, where a range of smart plugs and energy monitors can be added—a simple process. Setting up variable tariffs is a bit more complex, and I will cover that in a later post.
Even with a car charger, a domestic clamp, and numerous smart plugs, Home Assistant accurately tracks and estimates my monthly energy costs. Most months, HA’s cost prediction is within £5 of my actual bill.

I also monitor a range of different sensors via a dedicated dashboard. If you have a Philips Hue Motion Sensor you can actually track Light levels, temperature and motion (obviously). I also use a number of Eve Door and Window and Aqara Door Sensors to trigger automations when a door opens and closes.

Home Assistant Energy Monitoring

I’ve already mentioned how great the energy dashboard is in Home Assistant. I’ve gone as far as connecting the Green to a smart plug for two reasons: first, to monitor how much energy the device is using, and second, in case the Green crashes, I have a remote way of turning the power off and on.
This image shows how the systems monitors its own energy use.
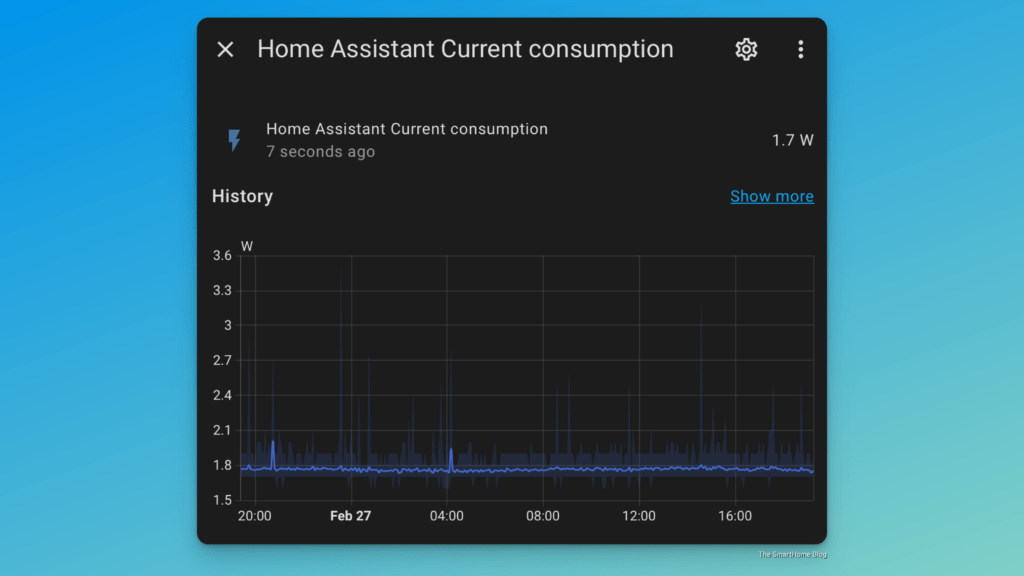
The Home Assistant Green averages approximately 0.043 kWh per day.
Home Assistant Green v Yellow
The Green employs the Rockchip RK3566 (quad-core CPU), which is good for most automations, but it is not as powerful as the Home Assistant Yellow (which has an upgradeable Raspberry Pi CM4).
If you have very complex automations, AI processing, or large databases, a higher-end device may be better. At the minute I have a complex enough system that the little Green device manages without issue.
Conclusion
When I first purchased the HA Green, I had some concerns about whether it would be powerful enough for my needs. Frequently described as the entry-level Home Assistant hub, there were suggestions like “It works, but you’ll probably upgrade in a month.” Well, I didn’t.
In fact, the only addition I made was an external SSD for data storage (mainly due to concerns about disk space and write endurance). A year later, I still haven’t found any reason to upgrade my trusty Home Assistant Green.
This smart home setup has remained rock-solid, providing excellent smart home control and exceptional data logging. HA is a great platform if you want to get creative with your smart home. Home Assistant marries simplicity and sophistication for the perfect, private smart home.
Links:
Ecowitt Weather Station Review
Home Assistant Links
Other Smart Home Options
Getting Started with Apple HomeKit
5 Advantages of Home Assistant Green
1. Easy Setup & Beginner-Friendly
Unlike DIY Raspberry Pi setups, the HA Green comes pre-installed with Home Assistant OS, making it plug-and-play. Just connect it to power and Ethernet, and you’re ready to go.
2. Affordable & Cost-Effective
Home Assistant Green is one of the cheapest dedicated Home Assistant hubs, offering a robust smart home experience without a subscription fee like many cloud-based platforms.
3. Local Control & Privacy
Unlike cloud-dependent smart home systems, Home Assistant operates locally, ensuring better privacy, security, and reliability, even if the internet goes down. You can set up remote access which is very useful when using the companion app.
4. Supports a Wide Range of Smart Devices
Works with Zigbee, Z-Wave (with USB adapter), Matter (beta), Thread, Wi-Fi, and more via integrations, allowing vendor-neutral automation. The range of supported devices is fantastic, the more popular the device the more likely it is an integration already exists.
5. Low Power & Reliable Performance
Uses an efficient Rockchip RK3566 processor, which is both power-efficient and powerful enough to handle smart home automation without overheating or excessive power draw.
What are the Negatives to Home Assistant Green?
While the Green is a great entry-level smart home hub, it has some limitations. Unlike the Home Assistant Yellow, it doesn’t have built-in Zigbee, Thread, or Z-Wave support. Therefore, you’ll need USB dongles (e.g., SkyConnect for Zigbee/Thread, or a Z-Wave USB stick).
Limited Expandability
The HA Green offers limited expandability. Only two USB 2.0 ports, which might be limiting if you need multiple dongles. I have used both my USB sockets with the additional storage and SkyConnect dongle.