I’ve owned the Eve Aqua HomeKit water controller for a few years now. The latest version, which includes added Thread support, made me think about how I could put the device to better use. In Northern Ireland, it’s rare for lawns to require regular watering. When we do get a mini heatwave, it’s often accompanied by a hosepipe ban.
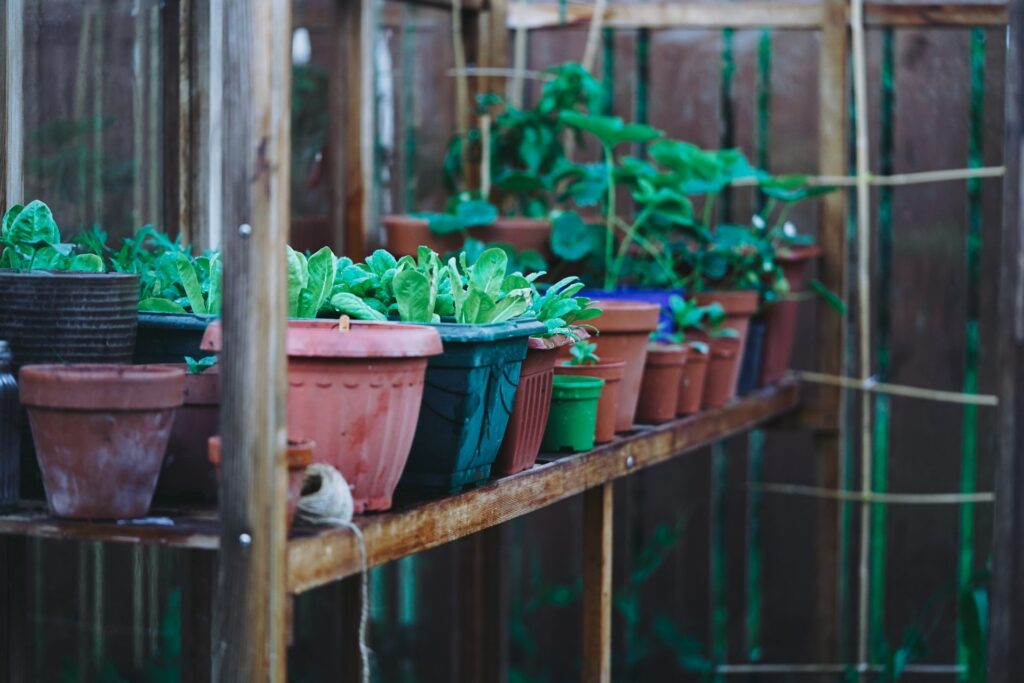
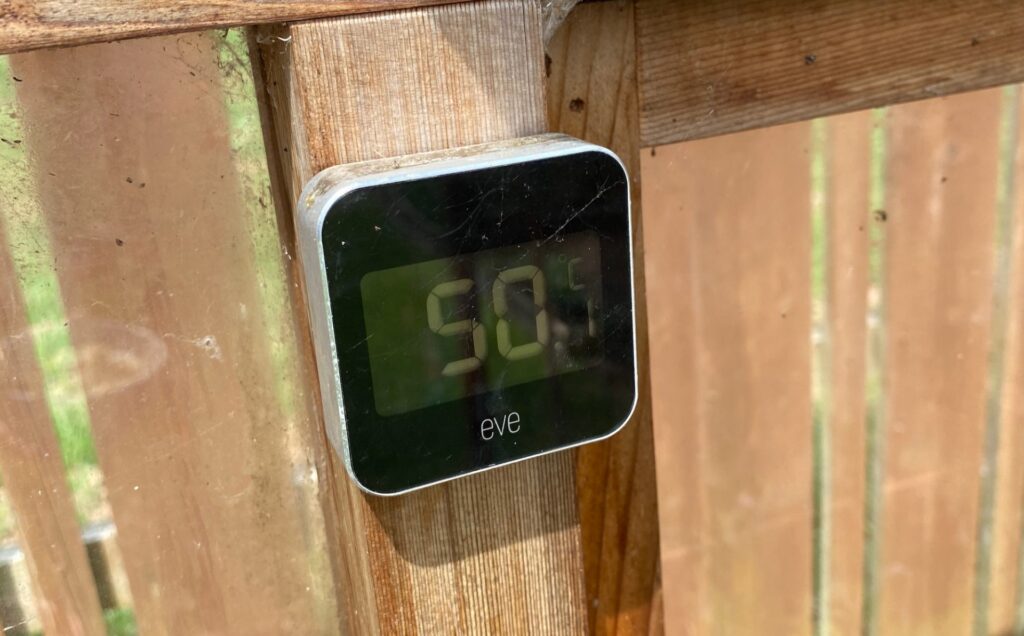
My application is a little different—it goes indoors. I already have an Eve Degree in my greenhouse that I use to track temperature. Over the last few years, I’ve seen temperatures exceed 50°C (122°F) on occasion. My goal was to create a mini-irrigation system for the plants, fruits, and vegetables growing in the greenhouse.
Table of Contents
Using the Eve Aqua HomeKit Water Controller for a Greenhouse Irrigation System
The cost of the project was around £100, but it should provide years of service—as long as I remember to store it away during the winter months.
The Eve Aqua costs about £80, and the irrigation system set me back £23. Also, note that for round-the-clock automation, you’ll need to have a HomeKit hub running (such as an Apple TV, HomePod, or HomePod mini).
My Aging Eve Degree in the Greenhouse
Stage 1: Setting Up the Watering System
Stage one involved creating a Y-junction at the tap, which is controlled by HomeKit via the Eve Aqua. This Y-junction directs water to the greenhouse while also allowing me to fill a watering can or set up a sprinkler for outdoor plants.
The Eve Aqua comes with a stop adjustment, allowing you to control water flow along each route individually or simultaneously. This feature is handy if you want to fill a watering can without running the entire system.
The Eve Aqua also has a master ON/OFF switch on the front, so users can manually activate the water without needing Siri or the app. This button can also be deactivated in the Eve app.
This Photo show my original Eve Aqua
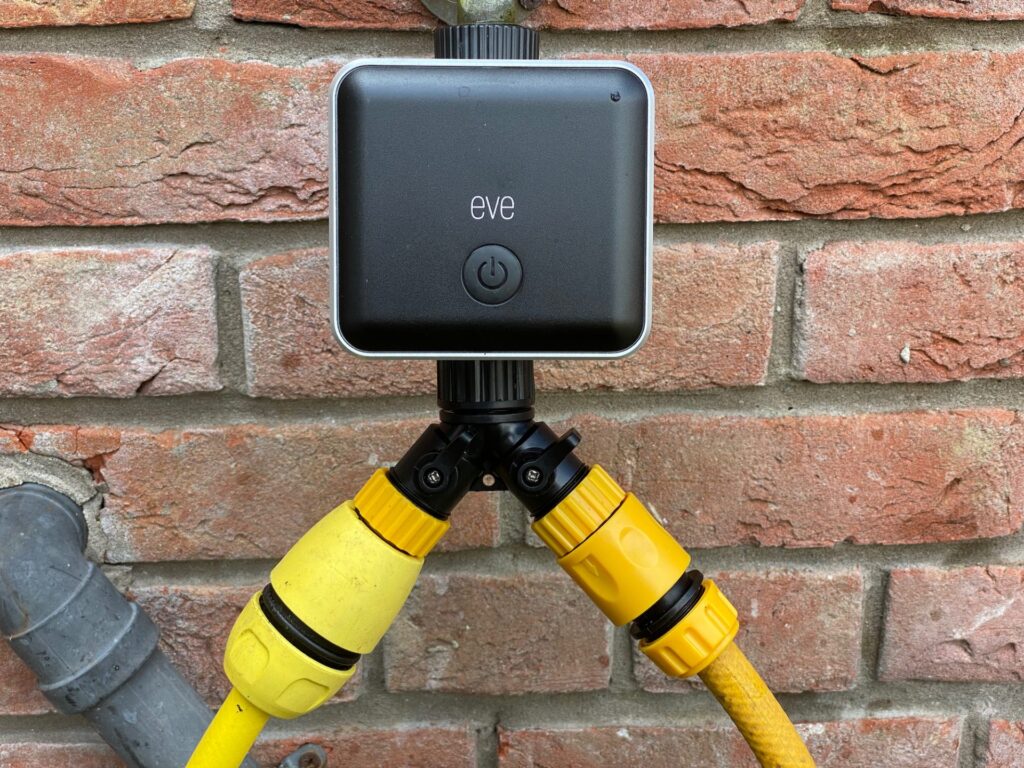
Photo 2 is the new Thread Eve Aqua with a slicker look and near silent operation mode.
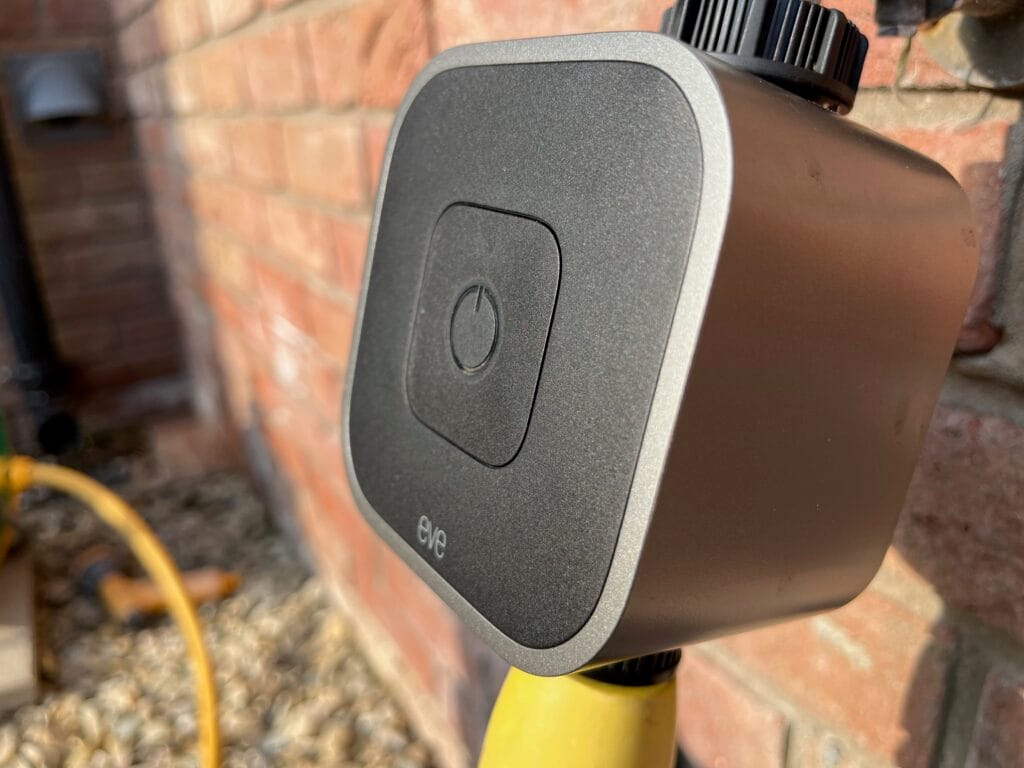
Eve Aqua with Latest Thread Support
A standard hose runs to the greenhouse door, where it connects to a micro-hose system via a butterfly clip. The irrigation kit came with a split adapter, so I now have two separate strands (one on each side of the greenhouse), each with its own stop switch.
Stage 2: Routing the Water Network
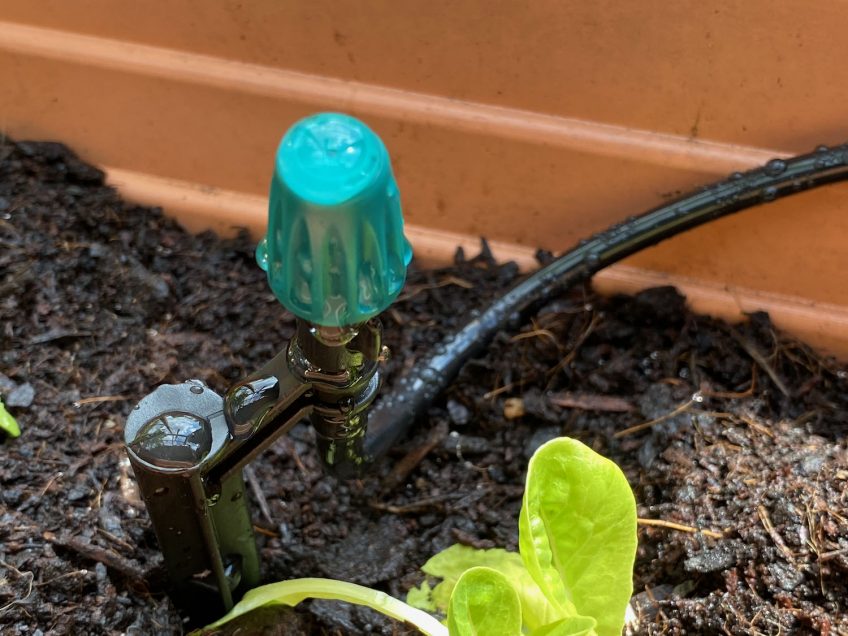
The biggest challenge in this stage was routing the water network around the already-established plants in the greenhouse. The £24 irrigation kit included various connectors and water distributors.
I placed the distributors around the plants and routed the flexible hose accordingly. The network required some thoughtful planning and involved a range of T-junctions and pass-throughs. I also made sure to cut the hose generously so that I could move the components around as the plant population changes.
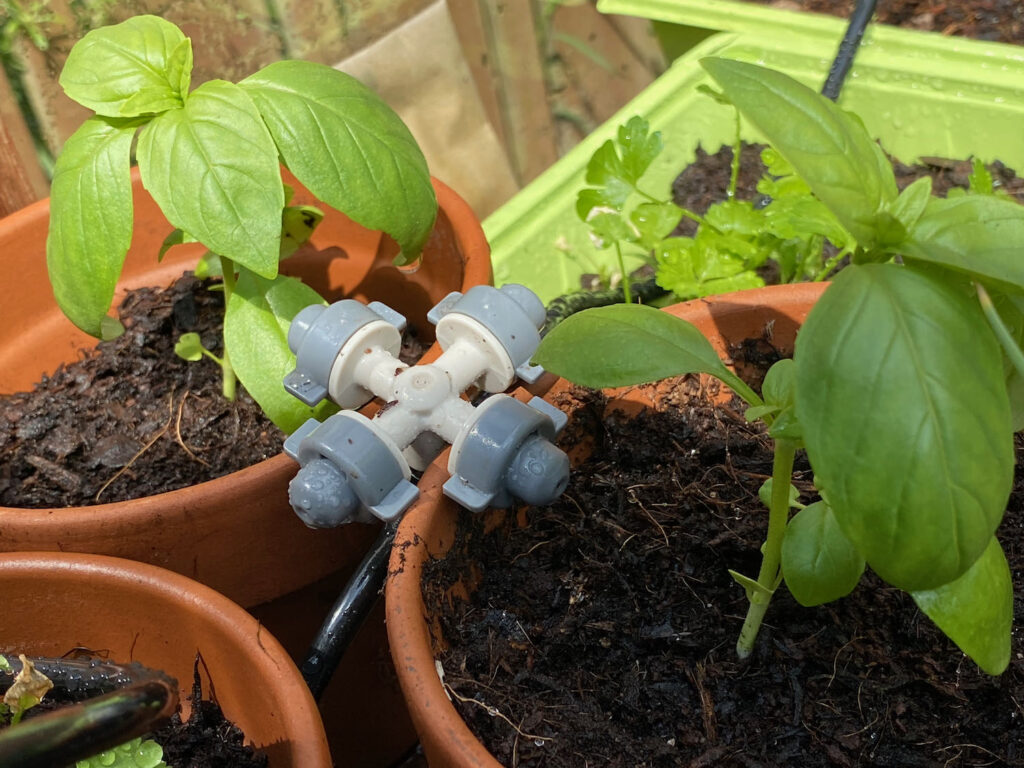
The images above show some of the connectors and mini stopcocks I used. I set up the irrigation system so that each side of the greenhouse could be controlled individually, allowing me to turn off sections as plants are removed, thus minimising water waste. It’s worth spending some time ensuring the hose is properly connected to the various T-junctions and outlets. This part can be a bit fiddly, but it’s crucial for proper functionality.
At the end of the setup, I still had plenty of connectors and hose left over, which means I can easily expand or modify the system in the future as my greenhouse changes.
Stage 3: Basic Automation Setup
My automation setup is simple but functional. I’ve created a routine to turn on the Eve Aqua for two minutes at sunset and again at sunrise. I’d love to see HomeKit’s automation engine develop into something more akin to a programming language, allowing for more complex logic.
For example, I have an Eve Degree sensor, and while I can trigger actions based on temperature, I don’t always want the action to be immediate. For instance, if the greenhouse reaches 40°C, I may want to water the plants for a little longer—but I would prefer to do this later in the day when the plants aren’t under direct sunlight.
It would be fantastic to have the ability to control variables like this:
- If the temperature in the greenhouse > 30°C
- Then water = true
- If time is 3 AM and water = true
- Then turn on Eve Aqua for 7 minutes
Siri Shortcuts: A Partial Solution
Siri Shortcuts offers some help here, but not a perfect solution. The Eve app includes a “Check Watering” shortcut that checks the weather forecast for your location and pauses watering if there’s a chance of rain. This works by pulling data from the Weather app on your iPhone. You can set the threshold at which you want watering to stop.
This is great for outdoor plants, but it doesn’t help much in a greenhouse. The Shortcuts app could be a potential solution, although it still requires manual intervention to trigger. If anyone has any insights or tips, feel free to share them in the comments.
The Simple Routine
Even with the basic automation, the system still offers a level of intelligent automation. I may adjust the routine to start 30 minutes before sunset and water for 4 minutes. I’ll continue to monitor the environment and adjust the schedule as the summer progresses.
Monitoring Water Consumption
The Eve Aqua also tracks water consumption, provided you know the flow rate of your tap. It offers the usual Eve graphical output, which can help visualize usage. However, in my setup, the overall flow is limited by the finer hoses and different outputs at each node. In reality, I’ll monitor the plants and make fine adjustments to the watering schedule to ensure water efficiency.
Conclusion
Some may see this solution as overkill, but on the whole, it made for a nice HomeKit project at a relatively low cost. The main benefits are the peace of mind I get from knowing the plants will be watered—even if I forget or am on holiday—and the efficiency of the system. The micro tubing allows water to be directed exactly where it’s needed, avoiding waste compared to using a watering can for the entire area.
The biggest challenge now is resisting the urge to say, “Hey Siri, turn on the garden tap!” when someone is in the greenhouse.